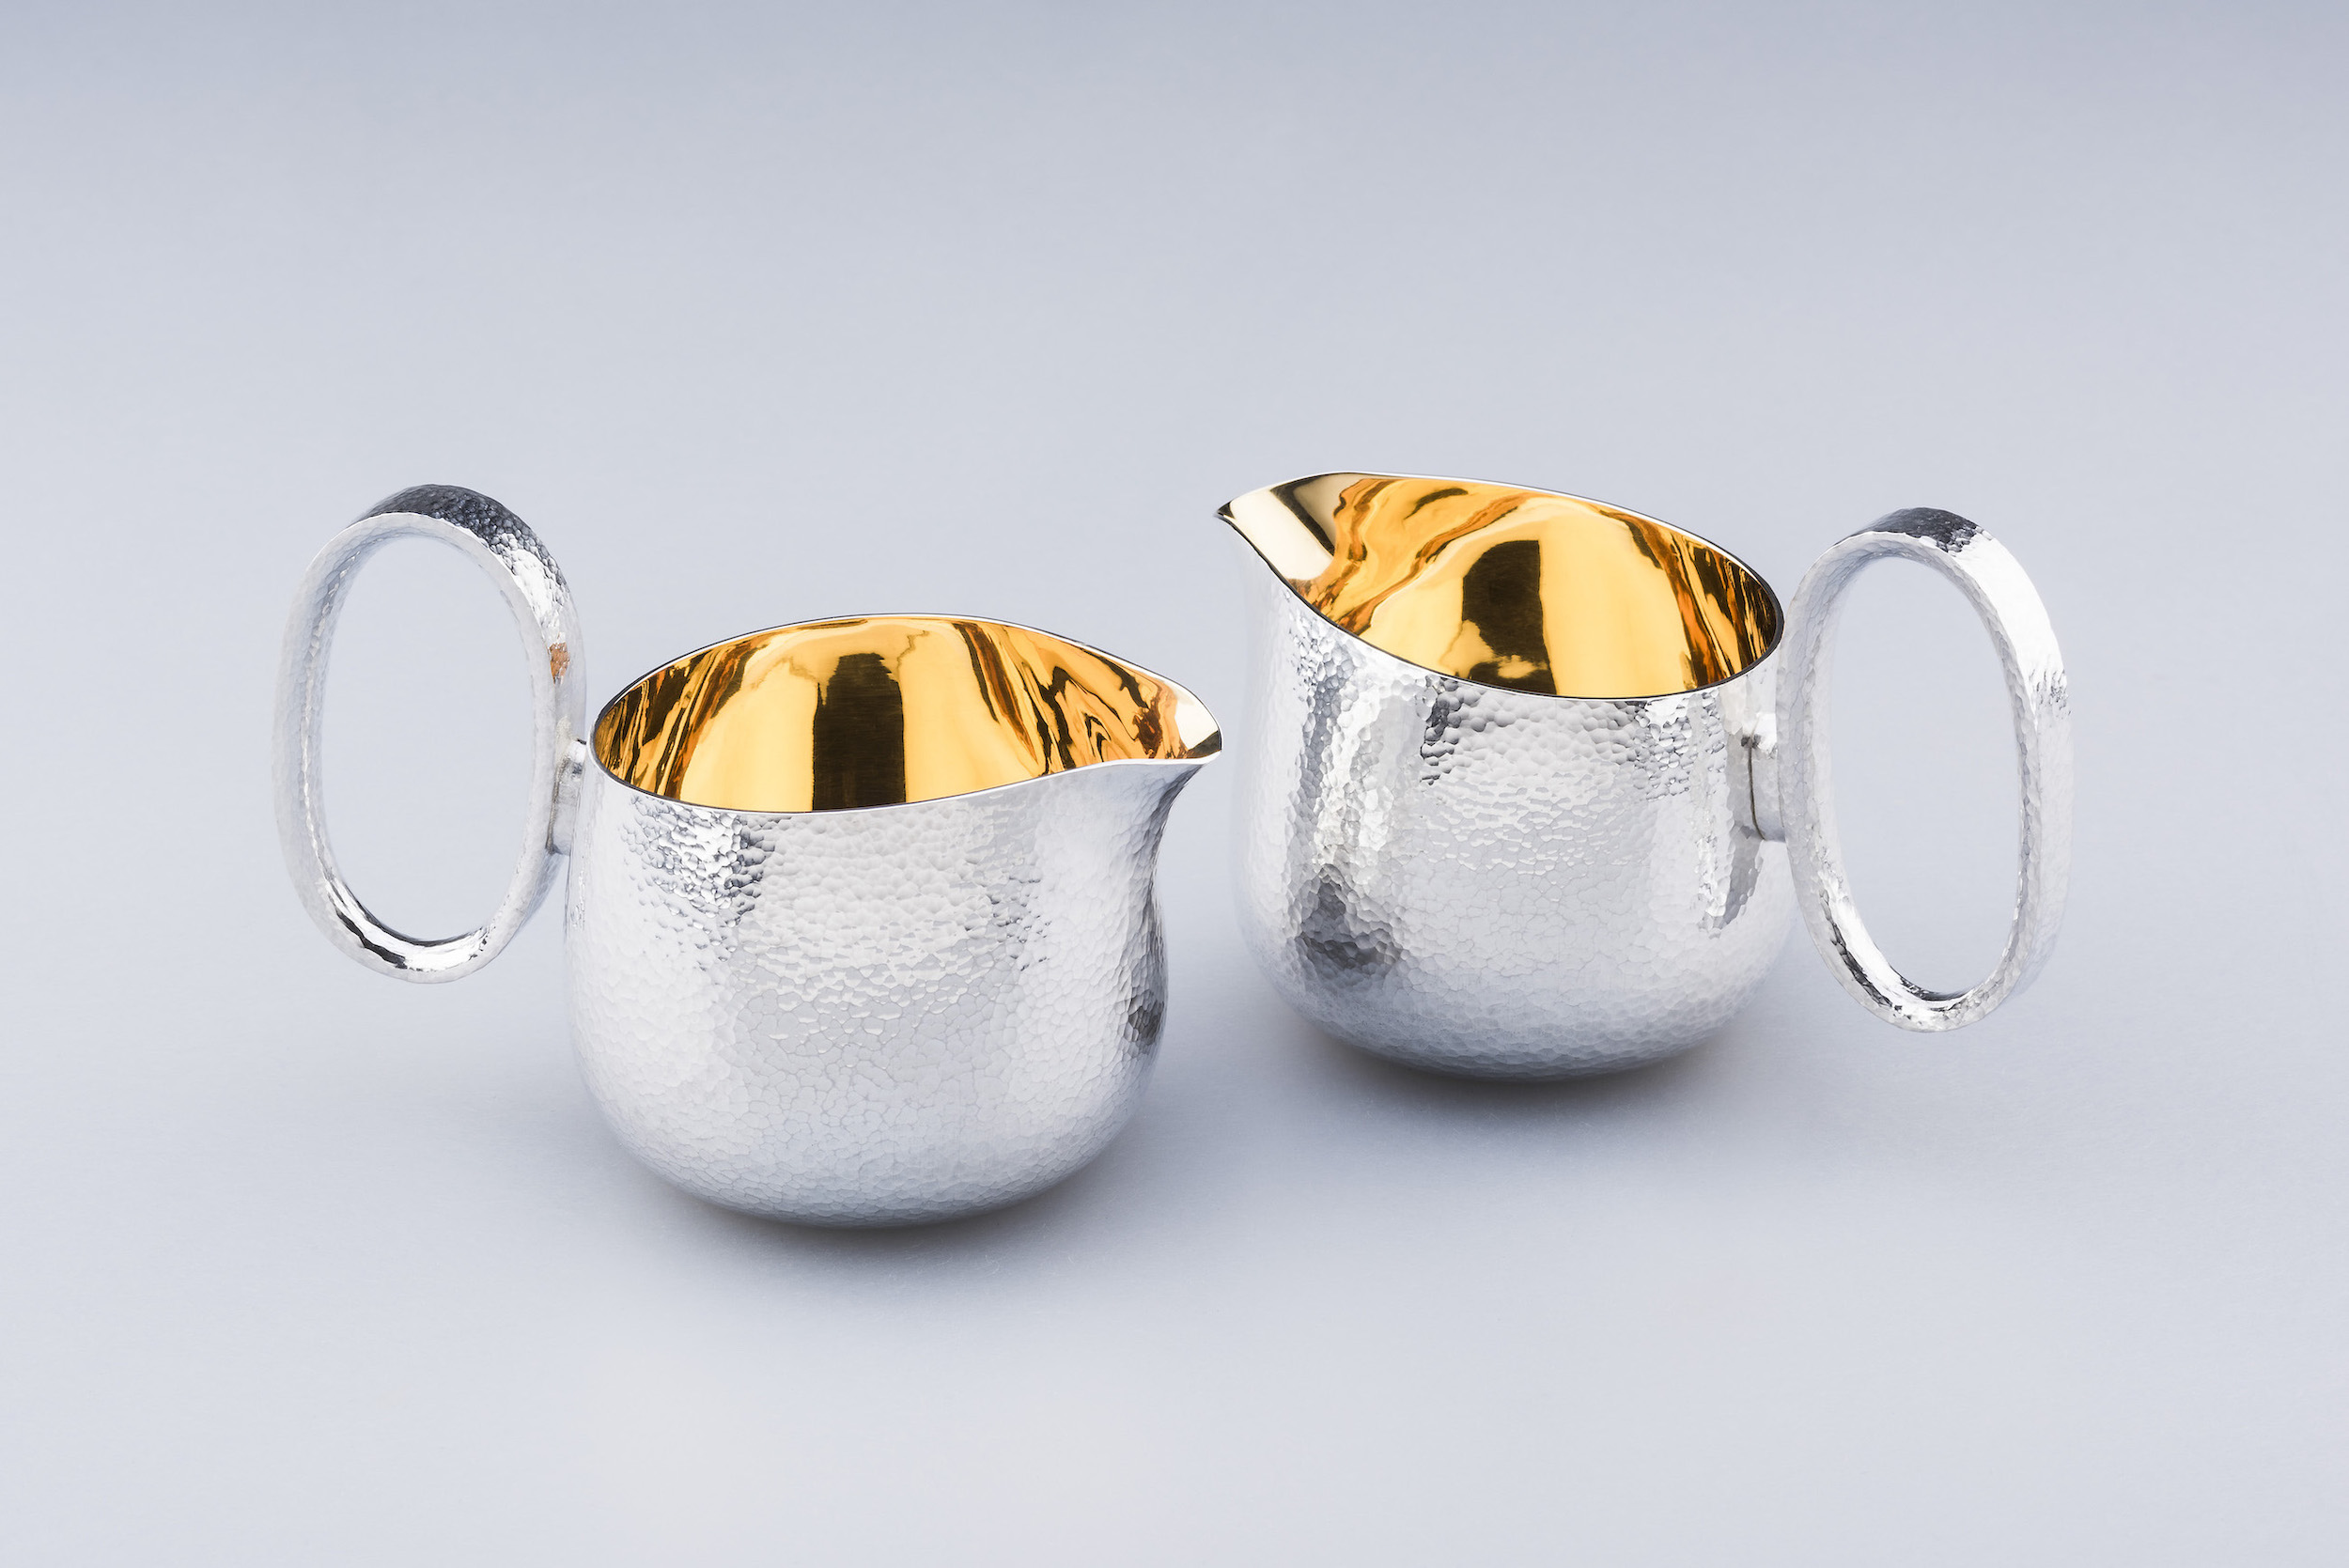
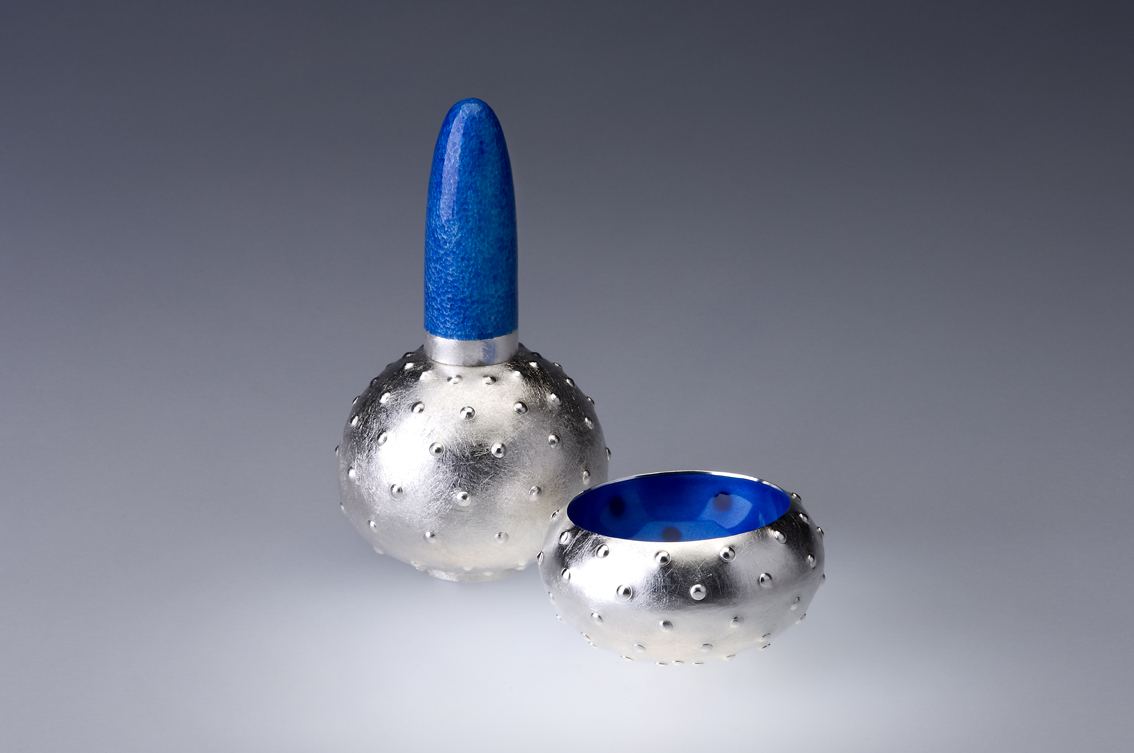
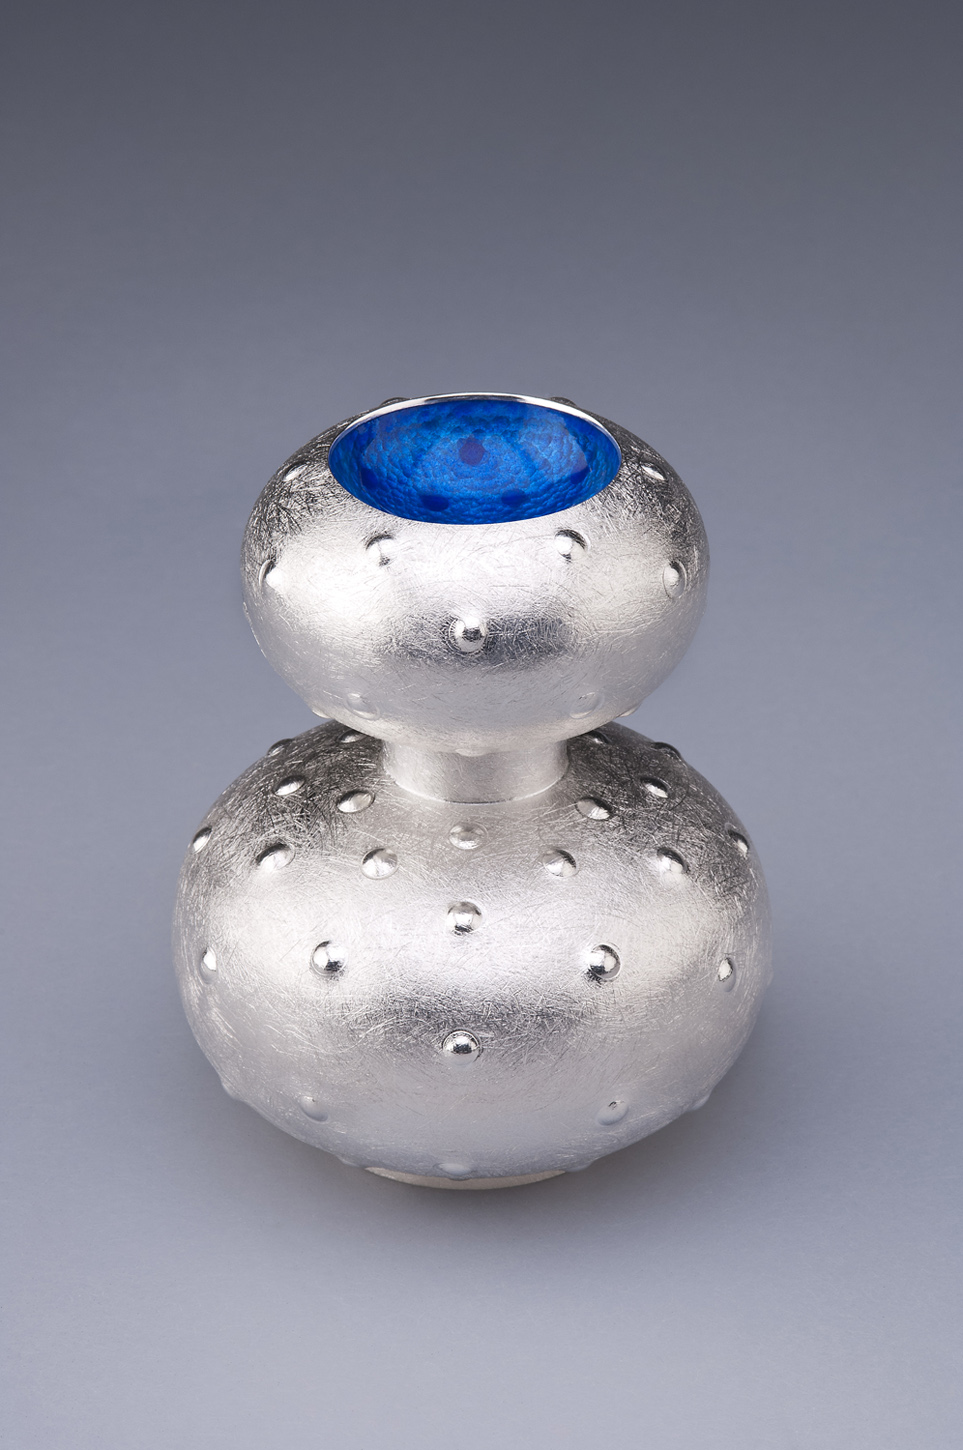
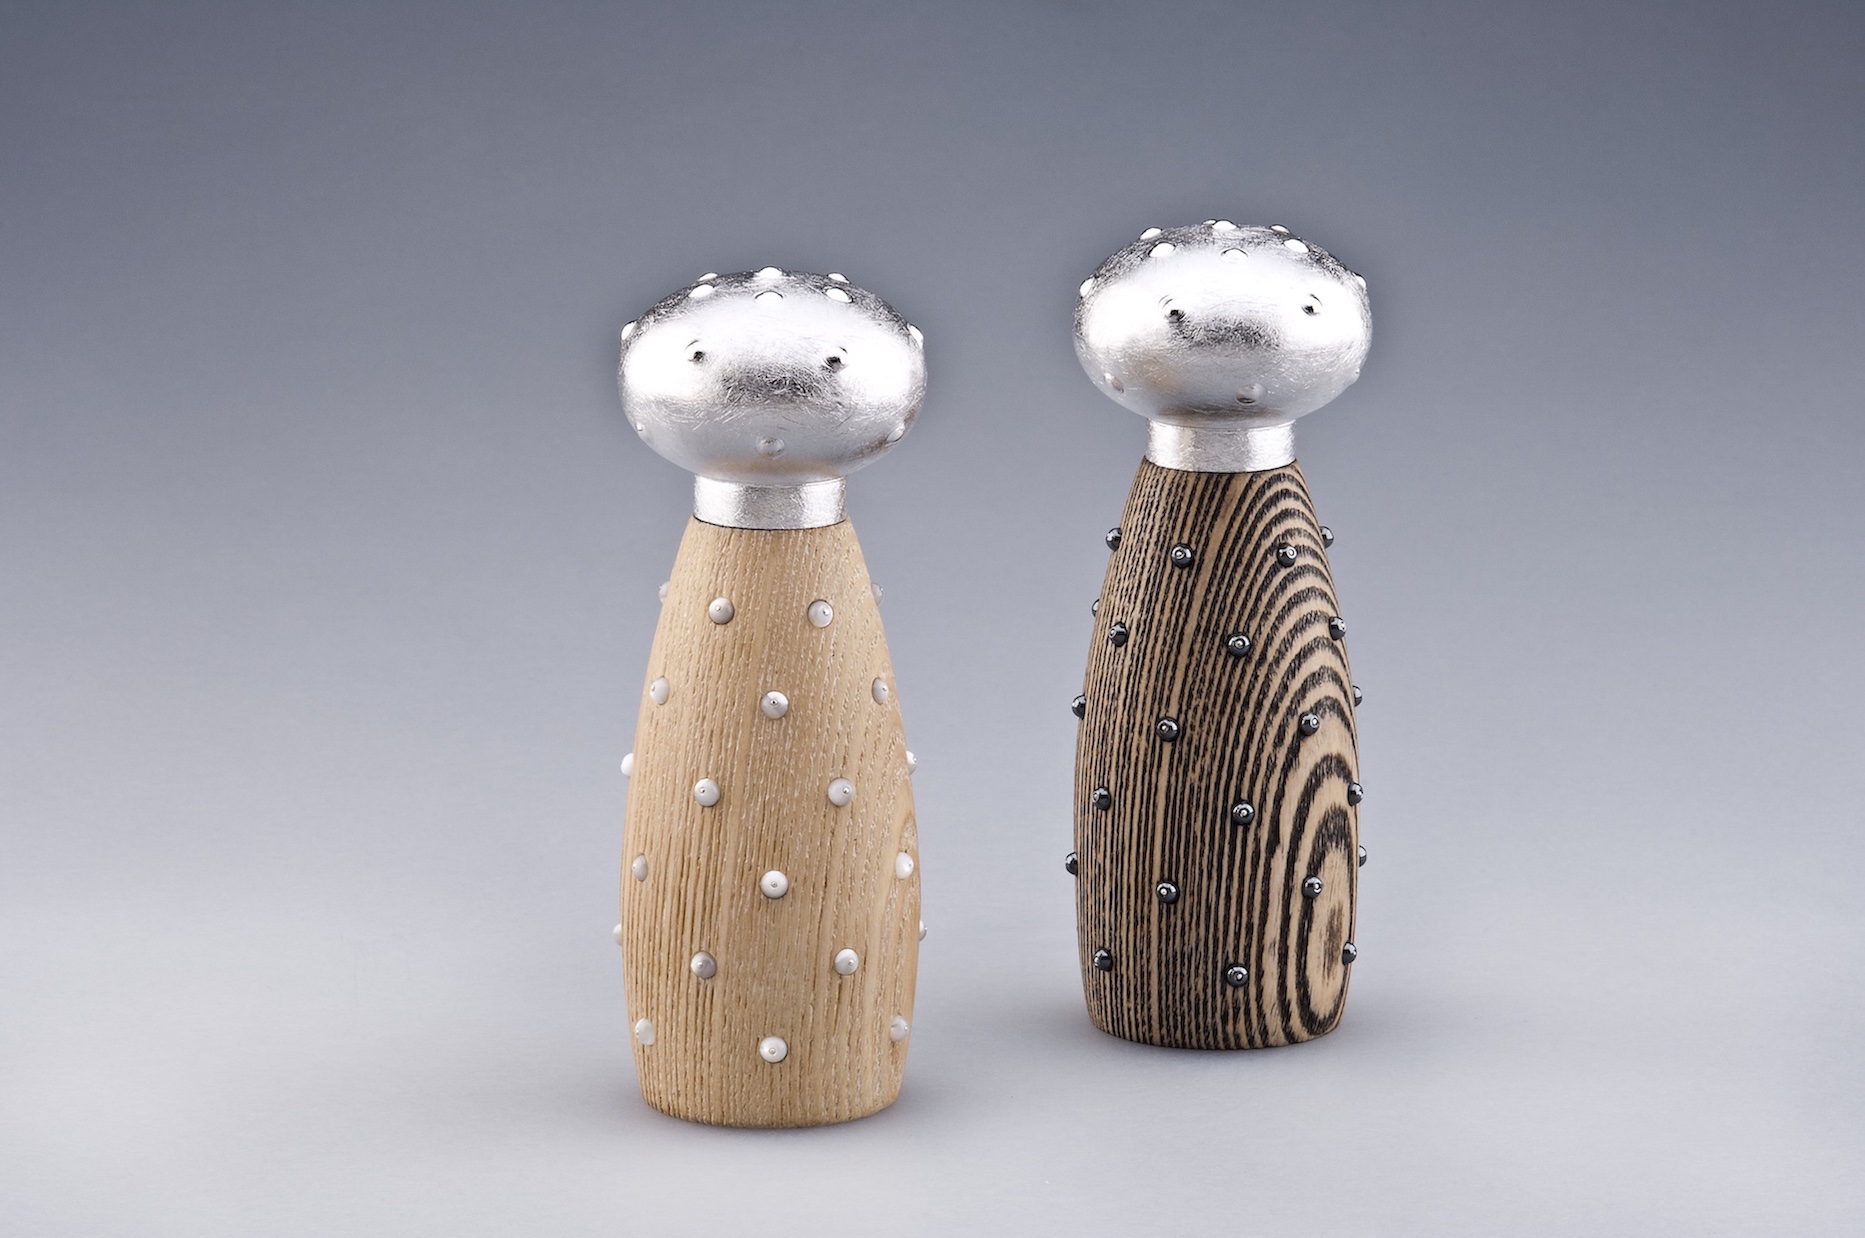
Deep drawing silver
I trained as a Silversmith at Belfast College of Art and then completed a two year Postgraduate course in Jewellery at the Sir John Cass. I then returned to Belfast College of Art, which later became the University of Ulster, as a Lecturer in Silversmithing and Jewellery. I moved on to be the Head of School of Fine and Applied Arts and in 1996 I was granted early retirement. Since then I have been producing silverware for exhibitions and commissions.
How I started Deep Drawing
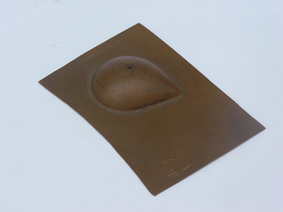
In 1985, while I was a lecturer I read an article in ‘Metalsmith’ by Susan Kingsley about hydraulic die forming of metal for jewellery production. I started cutting negative shapes out of 5mm Perspex sheet, placed a piece of annealed gilding metal which was larger than the negative shape on top of the Perspex and used old inner tubes folded up to about 20mm thick as my punch, placed a lump of steel on top of this and put it in the hydraulic hand press and started pumping. I was amazed to find the power of the inner tubing and the forms which I could produce using this process.
However I wanted to be able to produce hollowware and this method was mostly stretching the metal and not keeping a consistent thickness when formed. In other words I wanted to deep draw silver.
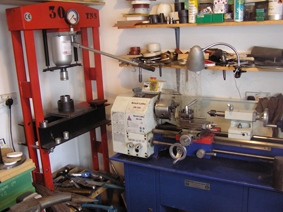
Having had this interest in using the hydraulic press, I wanted to see if I could develop it further so I purchased a 30ton engineers Sealey Hydraulic Press Model YK30.
Then in 2002 I applied to the Arts Council of Northern Ireland for a Major Award and was fortunate to be granted an award of £10,000 to purchase a metal turning lathe, tools, silver, other materials and travel.
Part of the proposal was to experiment with hydraulic press forming, combine it with my other skills as a silversmith to produce my designs in the most efficient and economical way.
I visited Lee Marshall at Bonny Doon Engineering, California in 2003. Lee told me about the work he had been doing with Phil Poirier on Deep Drawing. I purchased a copy of Phil Poirier booklet on Deep-Drawing for Metalsmiths. From it I started making steel Die Sets. Phil explains all the technical details in his booklet on deep drawing and I would recommend that you purchase a copy of it you are wanting to deep draw (unfortunately it is now out of print).
Making Die Sets
The lathe I purchased, only allows me to turn a 240mm diameter circle from which I produce a dish with a diameter of 143mm from the first pressing. When I require dies with a larger diameter I have to get them machined by a local engineering firm.
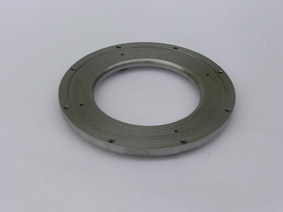
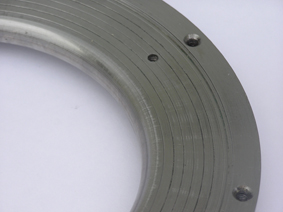
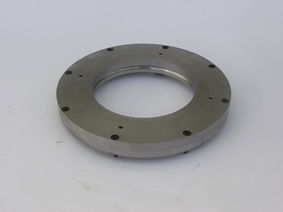
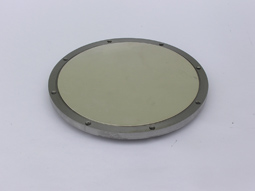
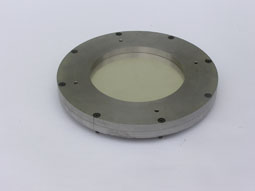
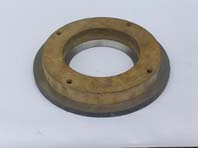
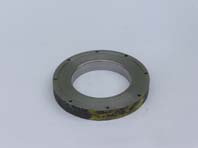
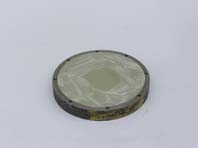
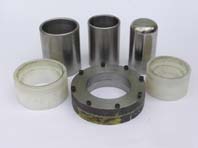
I use mild steel to make all my die sets. I start with two 240mm diameter circles of plate steel of approximately 14mm thick with a 135mm hole cut in the centre. I machine the surfaces so that they are flat and parallel. 8 holes of 4.2mm diameter are drilled equally around the edge of both plates. The bottom plate holes are then tapped for 5mm thread screw. The top plate holes are then opened up to take a 5 mm screw and the edges of both plates are marked with a scribed line to show the points where they are always screwed together.
The bottom plate (die) is then centred and fixed to the faceplate of the lathe and is not removed until ALL machining is completed. I used 0.9mm silver to press for this diameter of plate. Next I machine out the face to a depth of 0.9mm leaving a rim of 10mm on the outside. The hole in the centre is then machined to the required size and the edge is turned with a 10mm radius. All surfaces are polished with a fine polishing paper especially the hole and the rounded edge. Any marks left on this hole will mark the pressed silver. I then machine very light groves into the recess of the bottom plate with a difference of 10mm in the diameter each time. This gives me guidelines to place smaller circles of silver, which will always be central to the extrusion hole.
The top plate is screwed to the bottom plate (die) and the centre hole is machined to a diameter, which is 1.8mm smaller than the die hole. This hole is now central and allows the punch to pass through central to the die hole giving a clearance of 0.9mm all around between the punch and the die hole.
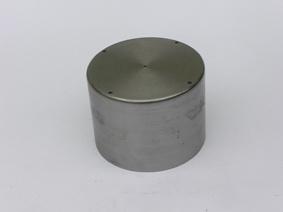
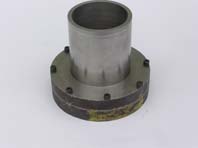
The punch is now made using hydraulic tubing with a wall thickness of approximately 8mm. The tubing is then machined with a diameter which is 1.8mm less than die hole. For punches of this size I machine a plate, which is partly recessed so that it fits onto the edge of the punch. This faceplate is required to remove the pressed silver from the punch. The edge of the faceplate and the punch are then turned leaving a radius of approximately 4-8mm with the radius continuing down the tubing. This allows the faceplate to drop out of the silver pressing. If the edge is left square it will only punch a hole in the silver.
To turn a radius on the steel die and punch or rounded form punches I use wood turning tools. I grind the wood turning tool with a square edge, the same way wood turners sharpen scrapers.
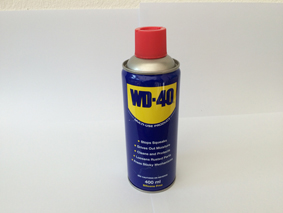
I use WD-40 as a lubricant and it has the added advantage that you do not need to clean the die or press tool and it keeps the tools free form rusting.
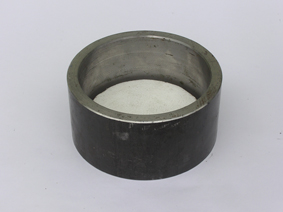
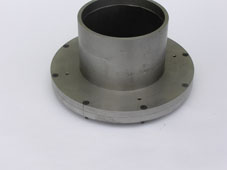
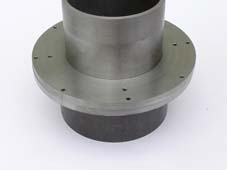
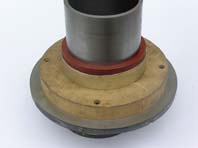
The next thing required is a piece of tubing to place the die set on when pressing. It has to be tall enough and with the central hole which allows the punch to pass through giving plenty of clearance. The ends of the tubing have to be machined square. The die set with the silver disc and punch are placed on top of the tubing and the hydraulic press pushes the punch and silver through the die set. There has to be enough room for the punch to fall through without touching the base plate the tubing is sitting on.
When I am pressing I always place a piece of polystyrene inside the tubing to stop the pressed silver getting marked when it finally passes through the die set as there can be considerable pressure when the punch leaves the die set.
The next step is to make the second die for the first pressing to be pressed through. It will have a punch which is 15-20mm smaller in diameter than the first punch. Every succeeding punch is reduced by a similar amount. The punch is now made the same way as the first punch with a diameter which is 1.8mm smaller than the die hole and has a faceplate again to push the pressing off the punch
For the second die I use another circle of plate steel with a hole cut out of the centre. It is then fixed to the surface plate of the lathe. Both faces are machined flat and then a hole of the required size is machined. The next step is to machine the hole with a taper of 45º.
The starting point of this taper has to be larger than the diameter of the next punch and when machined leaving approximately 3mm of the original hole. Where the hole and the taper slope meet it has the sharp edge rounded and all these surfaces are polished. In order to centre the first pressing to the next die I screw a piece of 20mm MDF with a hole cut out of the centre to the die plate. This is then bored out to fit the outside diameter of the silver which was pressed through the previous die.
To centre the punch for the next pressing I make a sleeve out of 20mm thick nylon. I bore out the hole so that it slides over the second punch with a tight fit. I then turn the outside diameter of this sleeve so that it fits inside the first silver pressing. As the pressing get taller with each pressing I will make two sleeves to keep to punch central and square.
When the punch gets down to approximately 100mm diameter I machine a piece of nylon that will slide down through the centre of the punch. This nylon is then used to push the pressed silver off the punch. This process of making dies and punches is repeated until you arrive at the size you require. I anneal the silver between each pressing
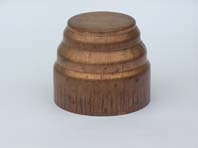
When you want a form, which is smaller in the base you step press the silver partly through the different dies giving a stepped appearance. This allows you to form the silver by raising it to the desired form.
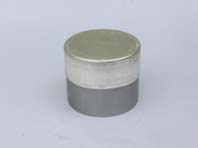
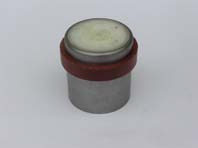
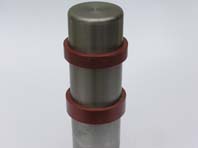
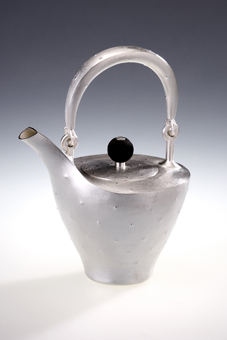
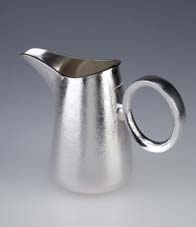
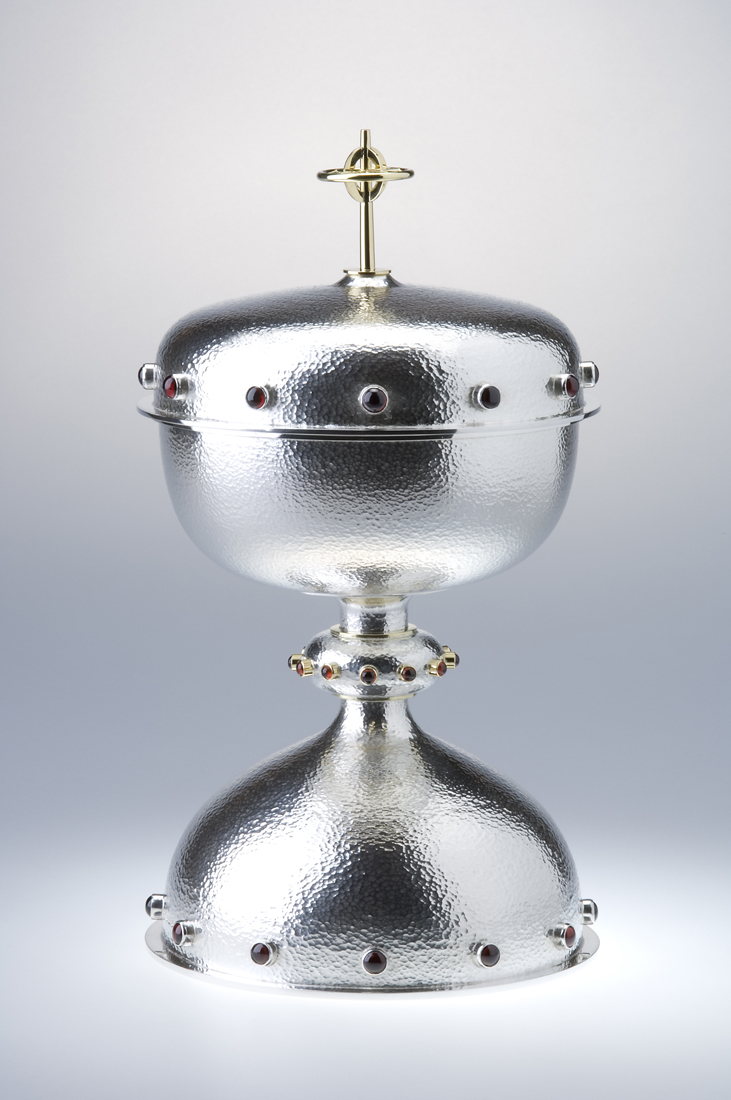
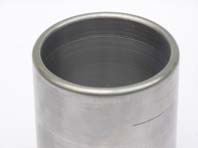
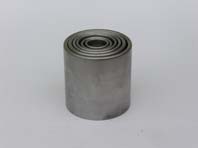
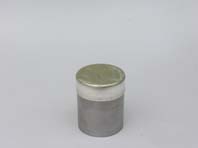
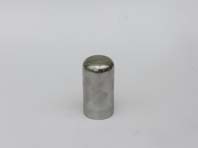
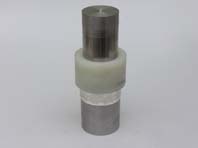
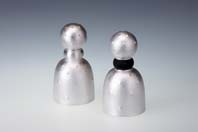
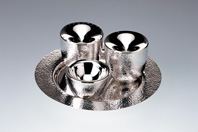
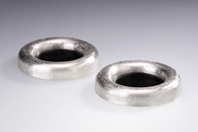
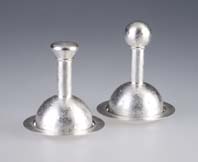
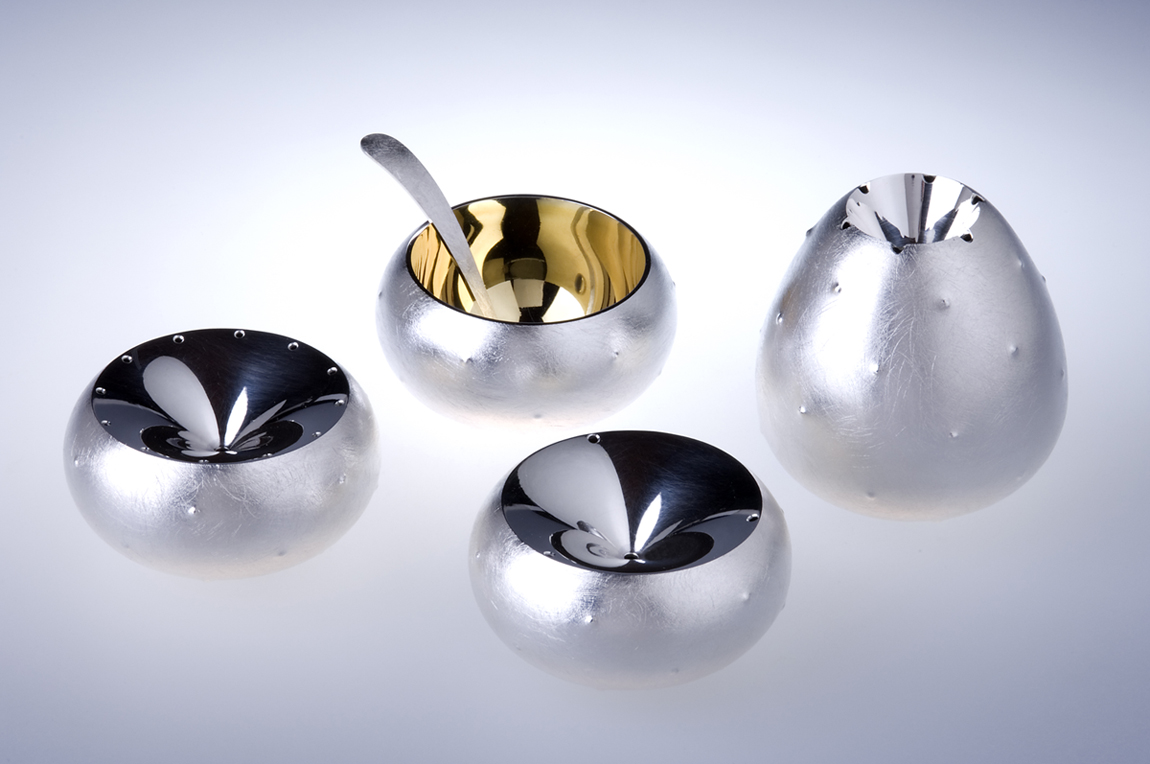
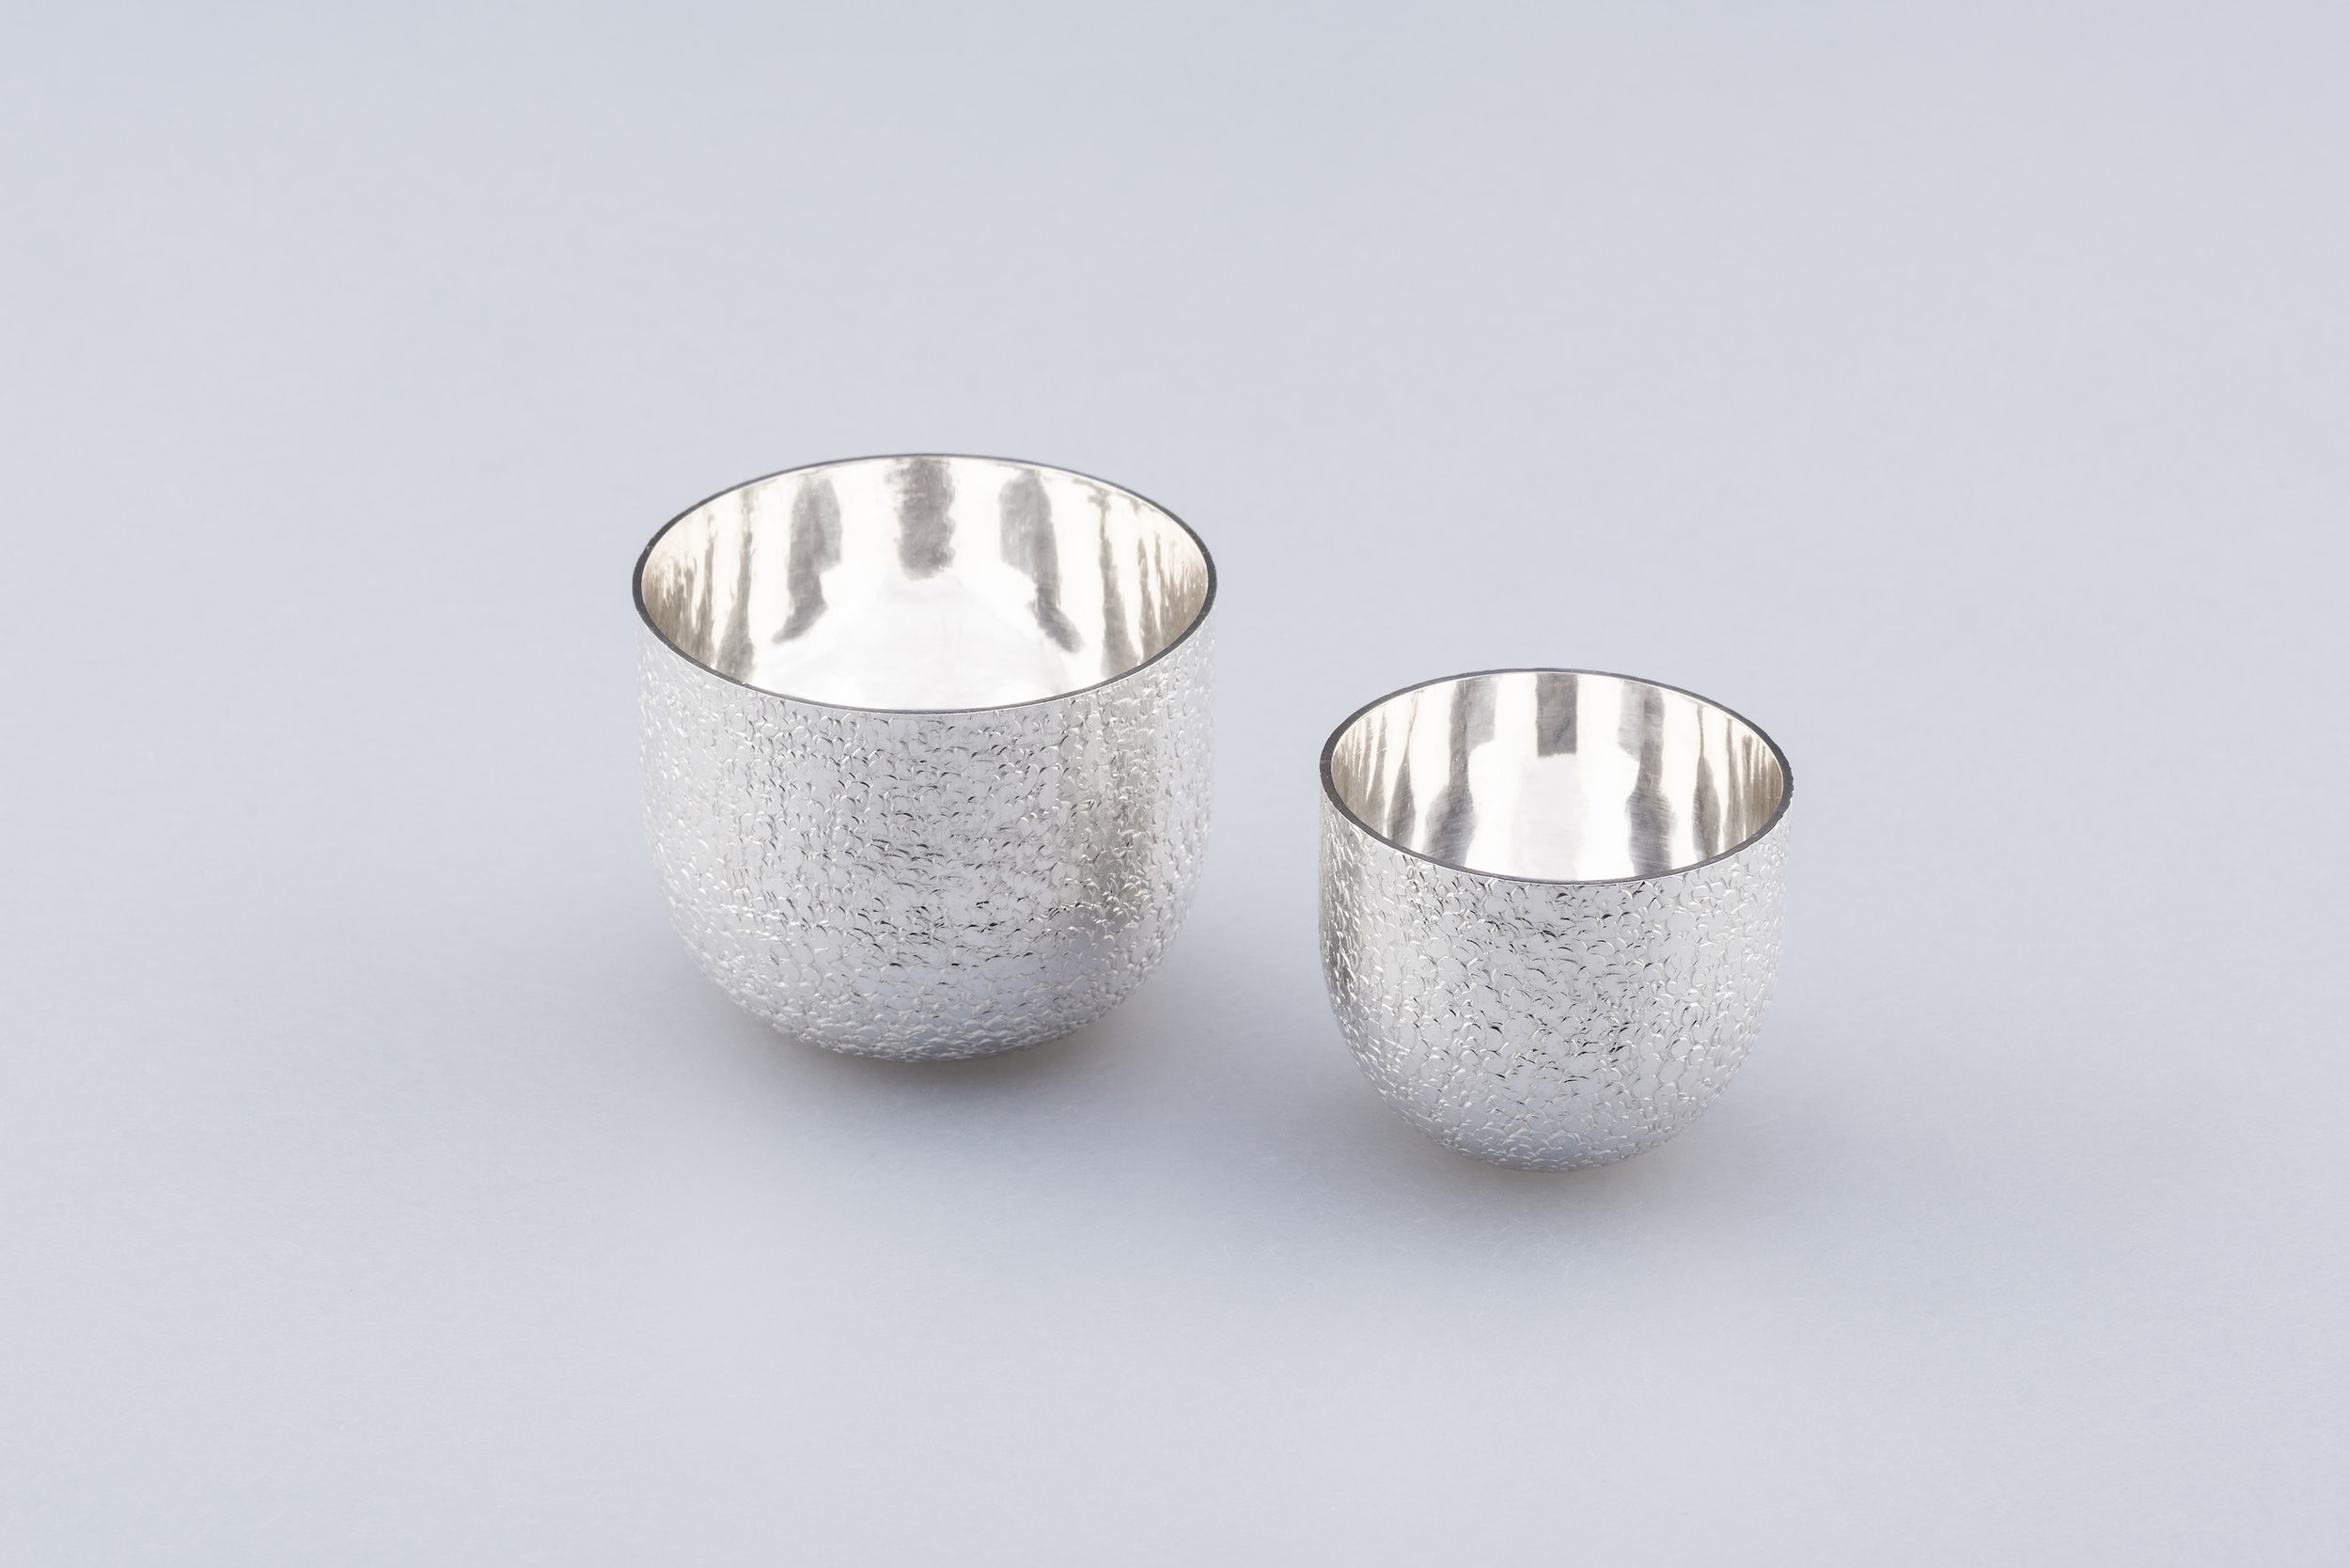
Examples of Deep Drawing
Making Dies and Punches for pressings that turn inside out.
Another method of deep drawing is to make dies which turns the silver inside out with each pressing, reducing in diameter each time.
When I started pressing using this method I always annealed the silver before each pressing. Then I thought that I would try not annealing to see what would happen. To my astonishment I found that I was able to form the silver to the finished form without ever annealing.
You start by making the first die set the same as previously. The punch used is different to the previous one in that the hydraulic tubing is machined with a diameter 1.8mm less than the die set hole. For a punch of 85mm diameter, the inside of the tubing is bored out to leave a wall thickness of approximately 6mm. The top edge is turned to leave a rounded edge. The inside of this tubing is then bored out a further 1mm in the diameter stopping 15mm from the rounded top edge. The reason for this is that you only have to polish the remaining 15mm of the inside, the top edge and the outside of the tubing. If you did not bore out the inside you would have to press the silver completely through the tubing.
I then make the next punch from hydraulic tubing which when machined, the outside diameter will be 1.8mm smaller than the inside diameter of the first punch. It is then machined the same way as the first punch.
I make a guide for the next punch to line up with the centre in the form of a sleeve from nylon bar, which is approximately 60mm long. I bore out a hole the complete length of the nylon bar, which is 1.8mm smaller than the inside of the first punch tubing and check to see that the second punch slide through the hole. One of the ends is then bored out to the diameter of the previous die set hole to a depth of 15mm. Again I check to see that the first pressing of the silver fits into this section of the nylon bar.
The first punch with the silver pressing still attached is then lubricated and the nylon sleeve guide is placed over the silver. The second punch is placed inside the sleeve and this is then put in the press and start pressing. As you start this second pressing you will see the silver rise up the first punch and before it disappears into the nylon sleeve slide the sleeve up pass the top edge of the silver. The reason for this is that the edge of the silver will move out when it is finally turning over at the top but it will be press back when it finally passes through the second punch.
For a punch of 35mm diameter the wall thickness of the tubing is reduced to 4mm and a punch of 21mm diameter the wall thickness is 2mm.
You can repeat this process until you arrive at the finished size of cylinder.
If you want a curved form the last punch is made from a solid bar of steel. This punch must have a convex curve and not a concave curve.
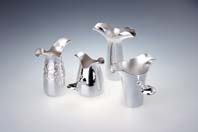
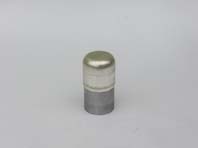
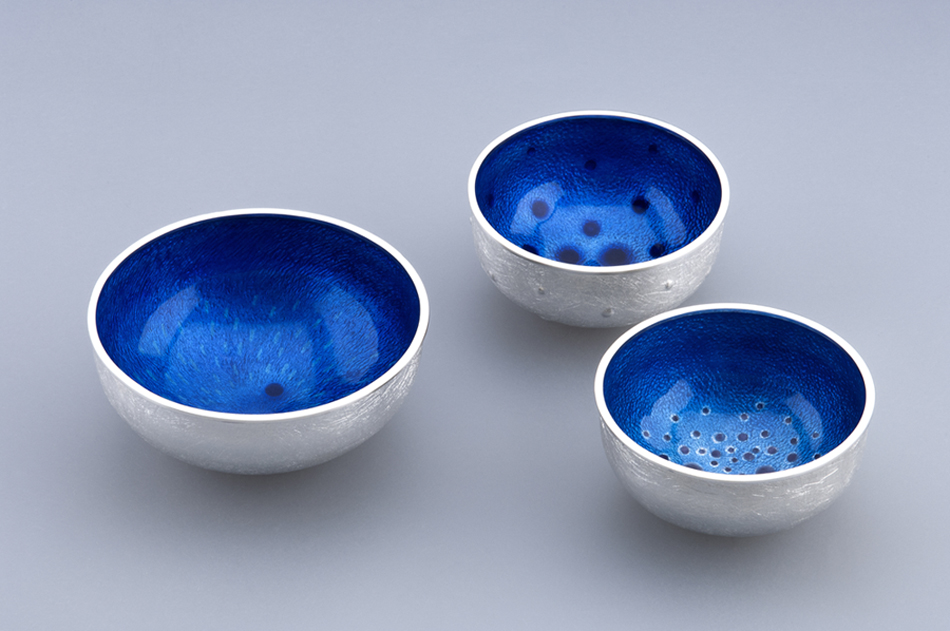
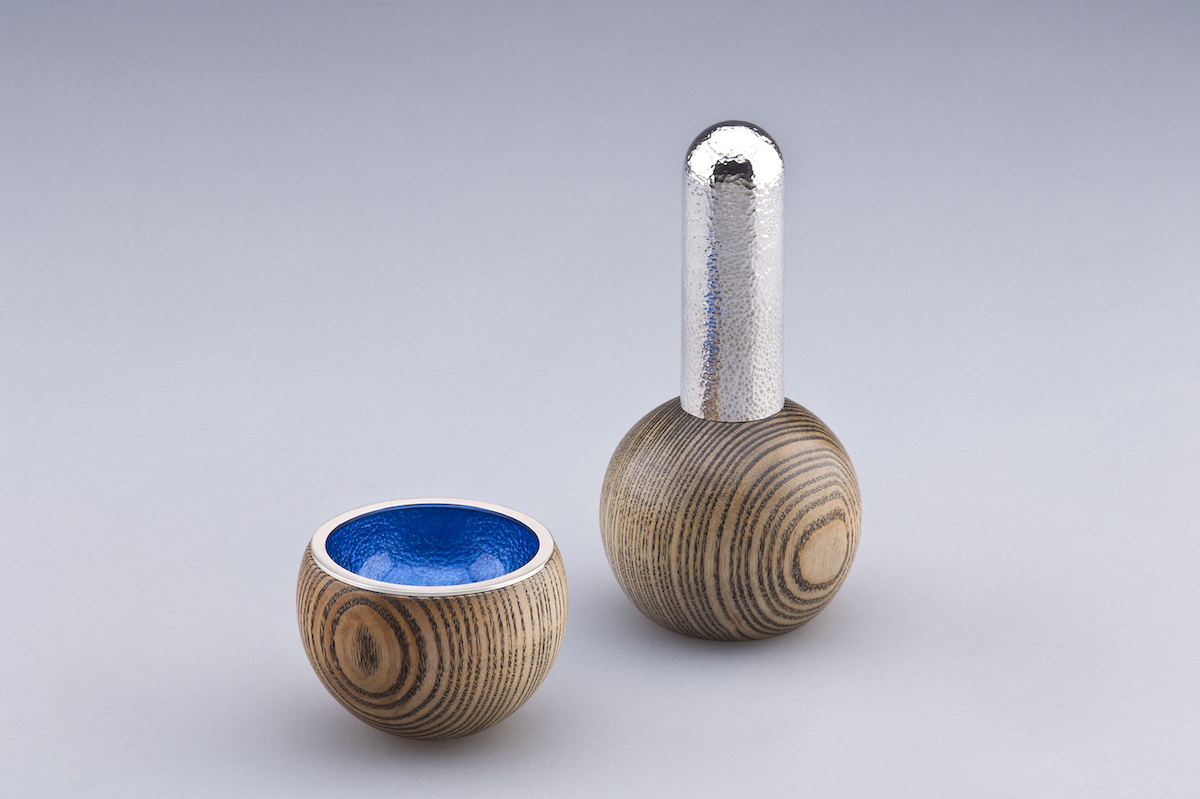
Examples of pressings which are turned inside out
Videos of Deep Drawing silver
Deep drawing silver Pepper Mill
Deep drawing silver with hydraulic press
